Getting Started
Welcome to the WebdriverIO documentation. It will help you to get started fast. If you run into problems, you can find help and answers on our Gitter Channel or you can hit me on Twitter.
info
These are the docs for the latest version (>=7.x) of WebdriverIO. If you are still using an older version, please visit the old documentation websites!
Installation#
Use npm or Yarn to install the WebdriverIO test runner in your Node.js project. See system requirements.
- npm
- Yarn
This single command downloads the WebdriverIO CLI tool that helps you set up WebdriverIO in your project.
Set Up#
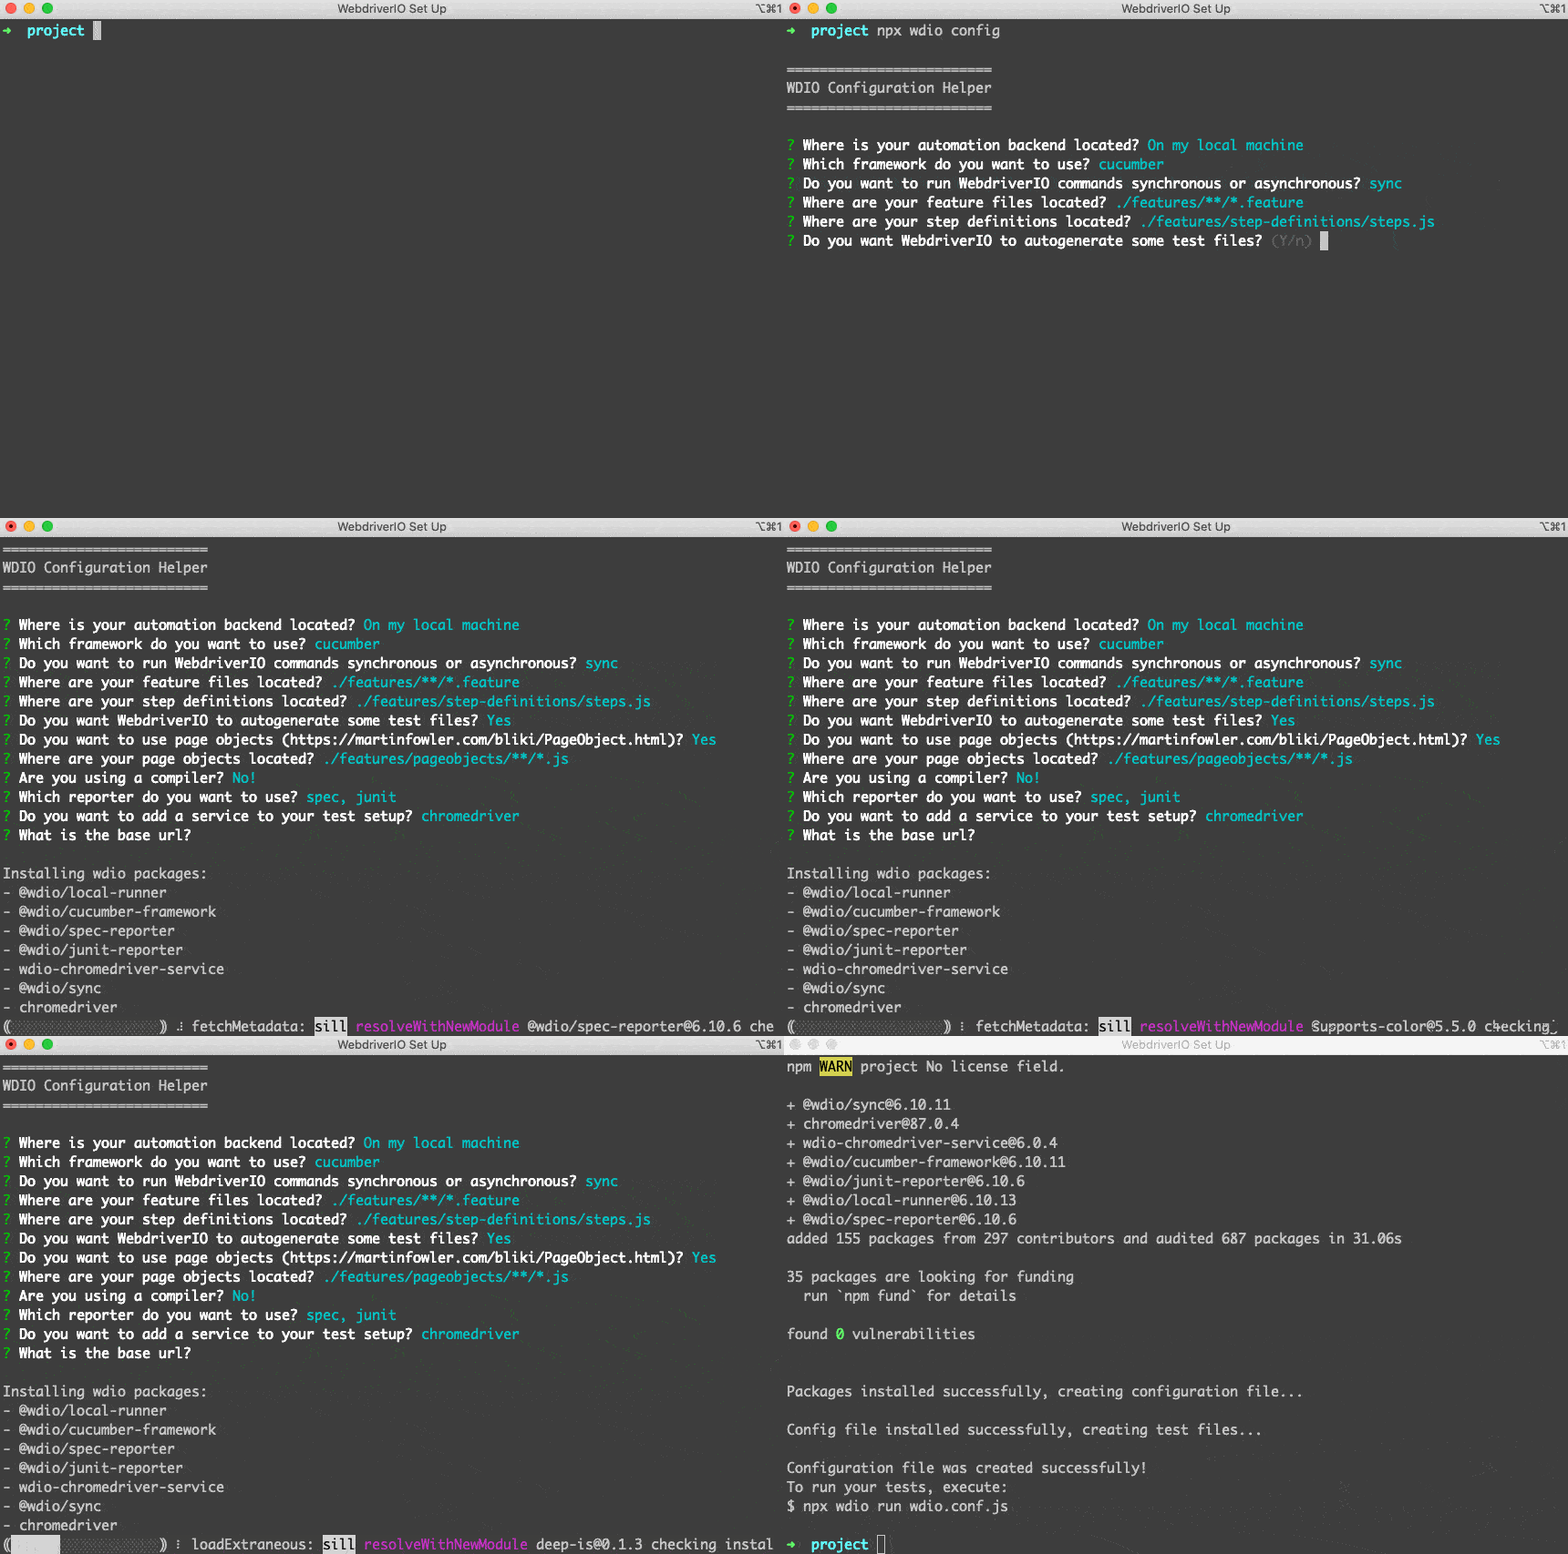
Once you've installed the CLI you can bootstrap a Hello World test suite into your project by running:

This will prompt a set questions that guides you through the setup. You can pass a --yes parameter to pick a default set up which will use Mocha with Chrome using the Page Object pattern.
Run Test#
You can start your test suite by using the run command and pointing to the WebdriverIO config that you just created:
If you like to run specific test files you can add a --spec parameter:
or define suites in your config file and run just the test files defined by in a suite:
Run in a script#
If you like to use WebdriverIO as an automation engine in a Node.JS script you can also directly install WebdriverIO and use it as package, e.g. to generate a screenshot of a website:
Note: using WebdriverIO as a package requires handling asynchronous commands via async/await. Read more about this in our section on Sync vs. Async.
System Requirements#
You’ll need Node.js installed.
- Install at least v12.16.1 or higher as this is the oldest active LTS version
- Only releases that are or will become an LTS release are officially supported
If you don't have Node installed, we recommend installing NVM to assist managing multiple active Node.js versions. If you are using the WDIO Testrunner in sync mode you also need Python v3 or higher installed.